
Elevate your Kitchen experience with sustainable tips and expert guidance at PureKitchenBliss.com.
Latest Articles
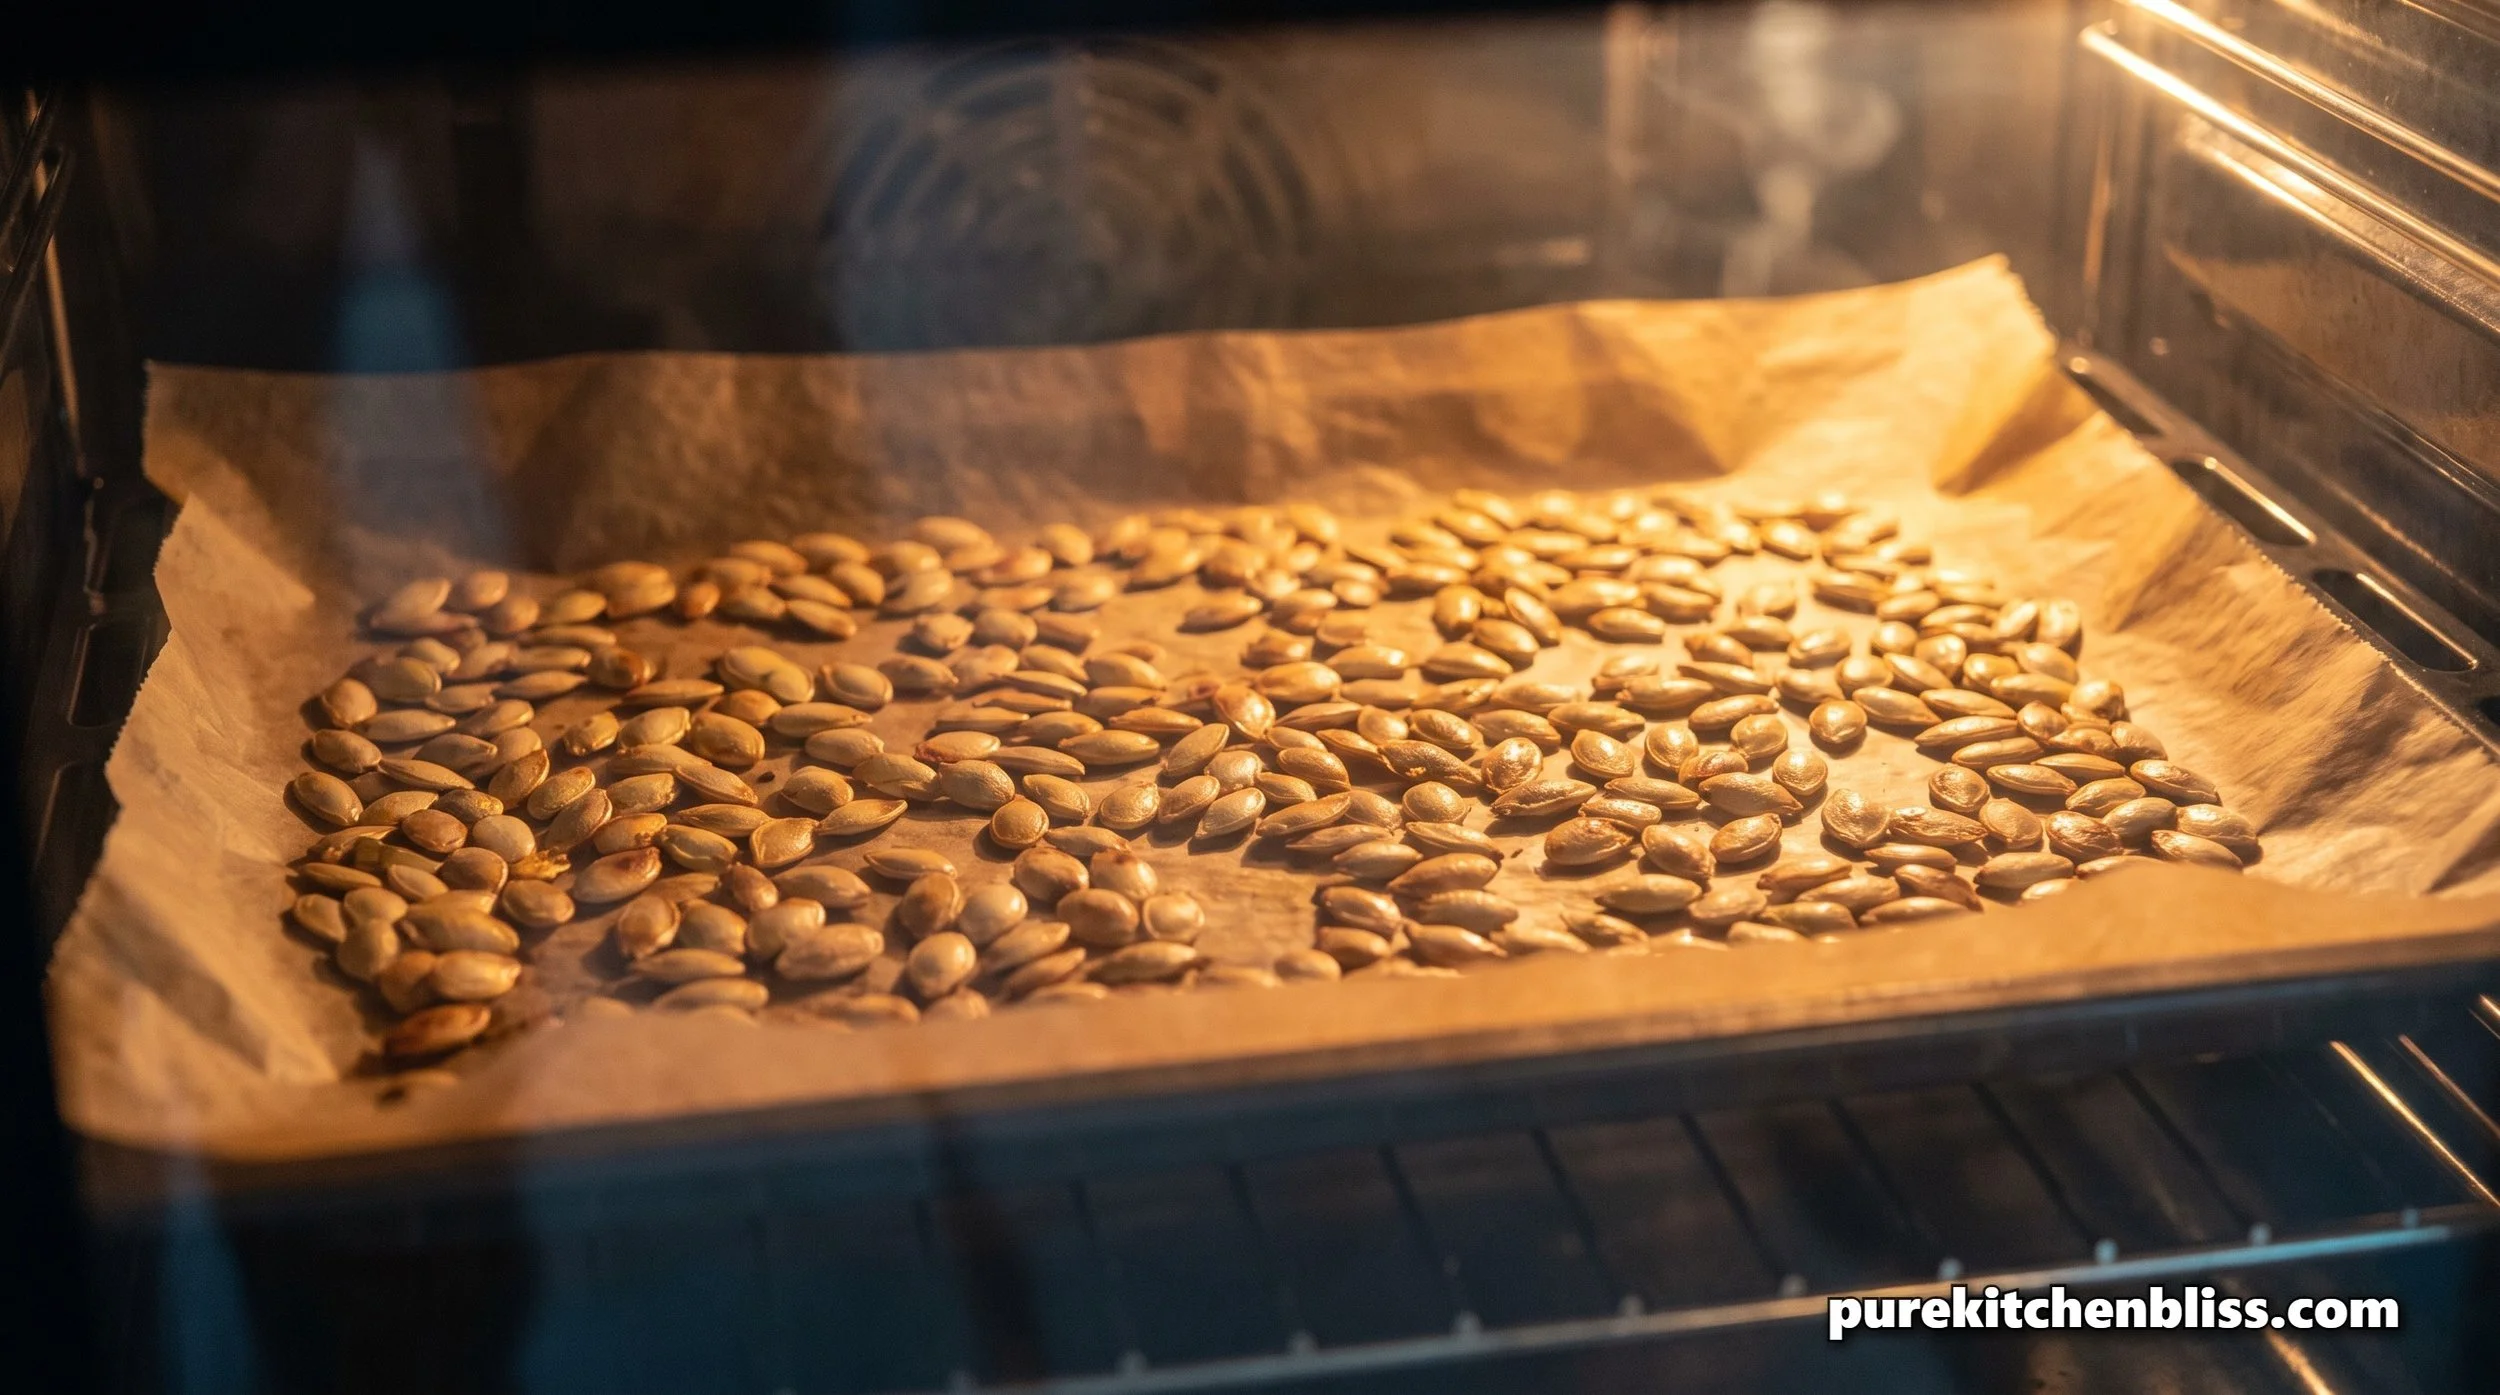
Every year we carve four pumpkins and three of them get their seeds thrown straight in the trash before I can grab them. Roasting pumpkin seeds isn't complicated, but most guides skip the cleaning step that actually matters and argue about temperature without explaining why the disagreement exists. Here is the full process, the food safety basics, and why the "best" temperature depends on what texture you're actually after.
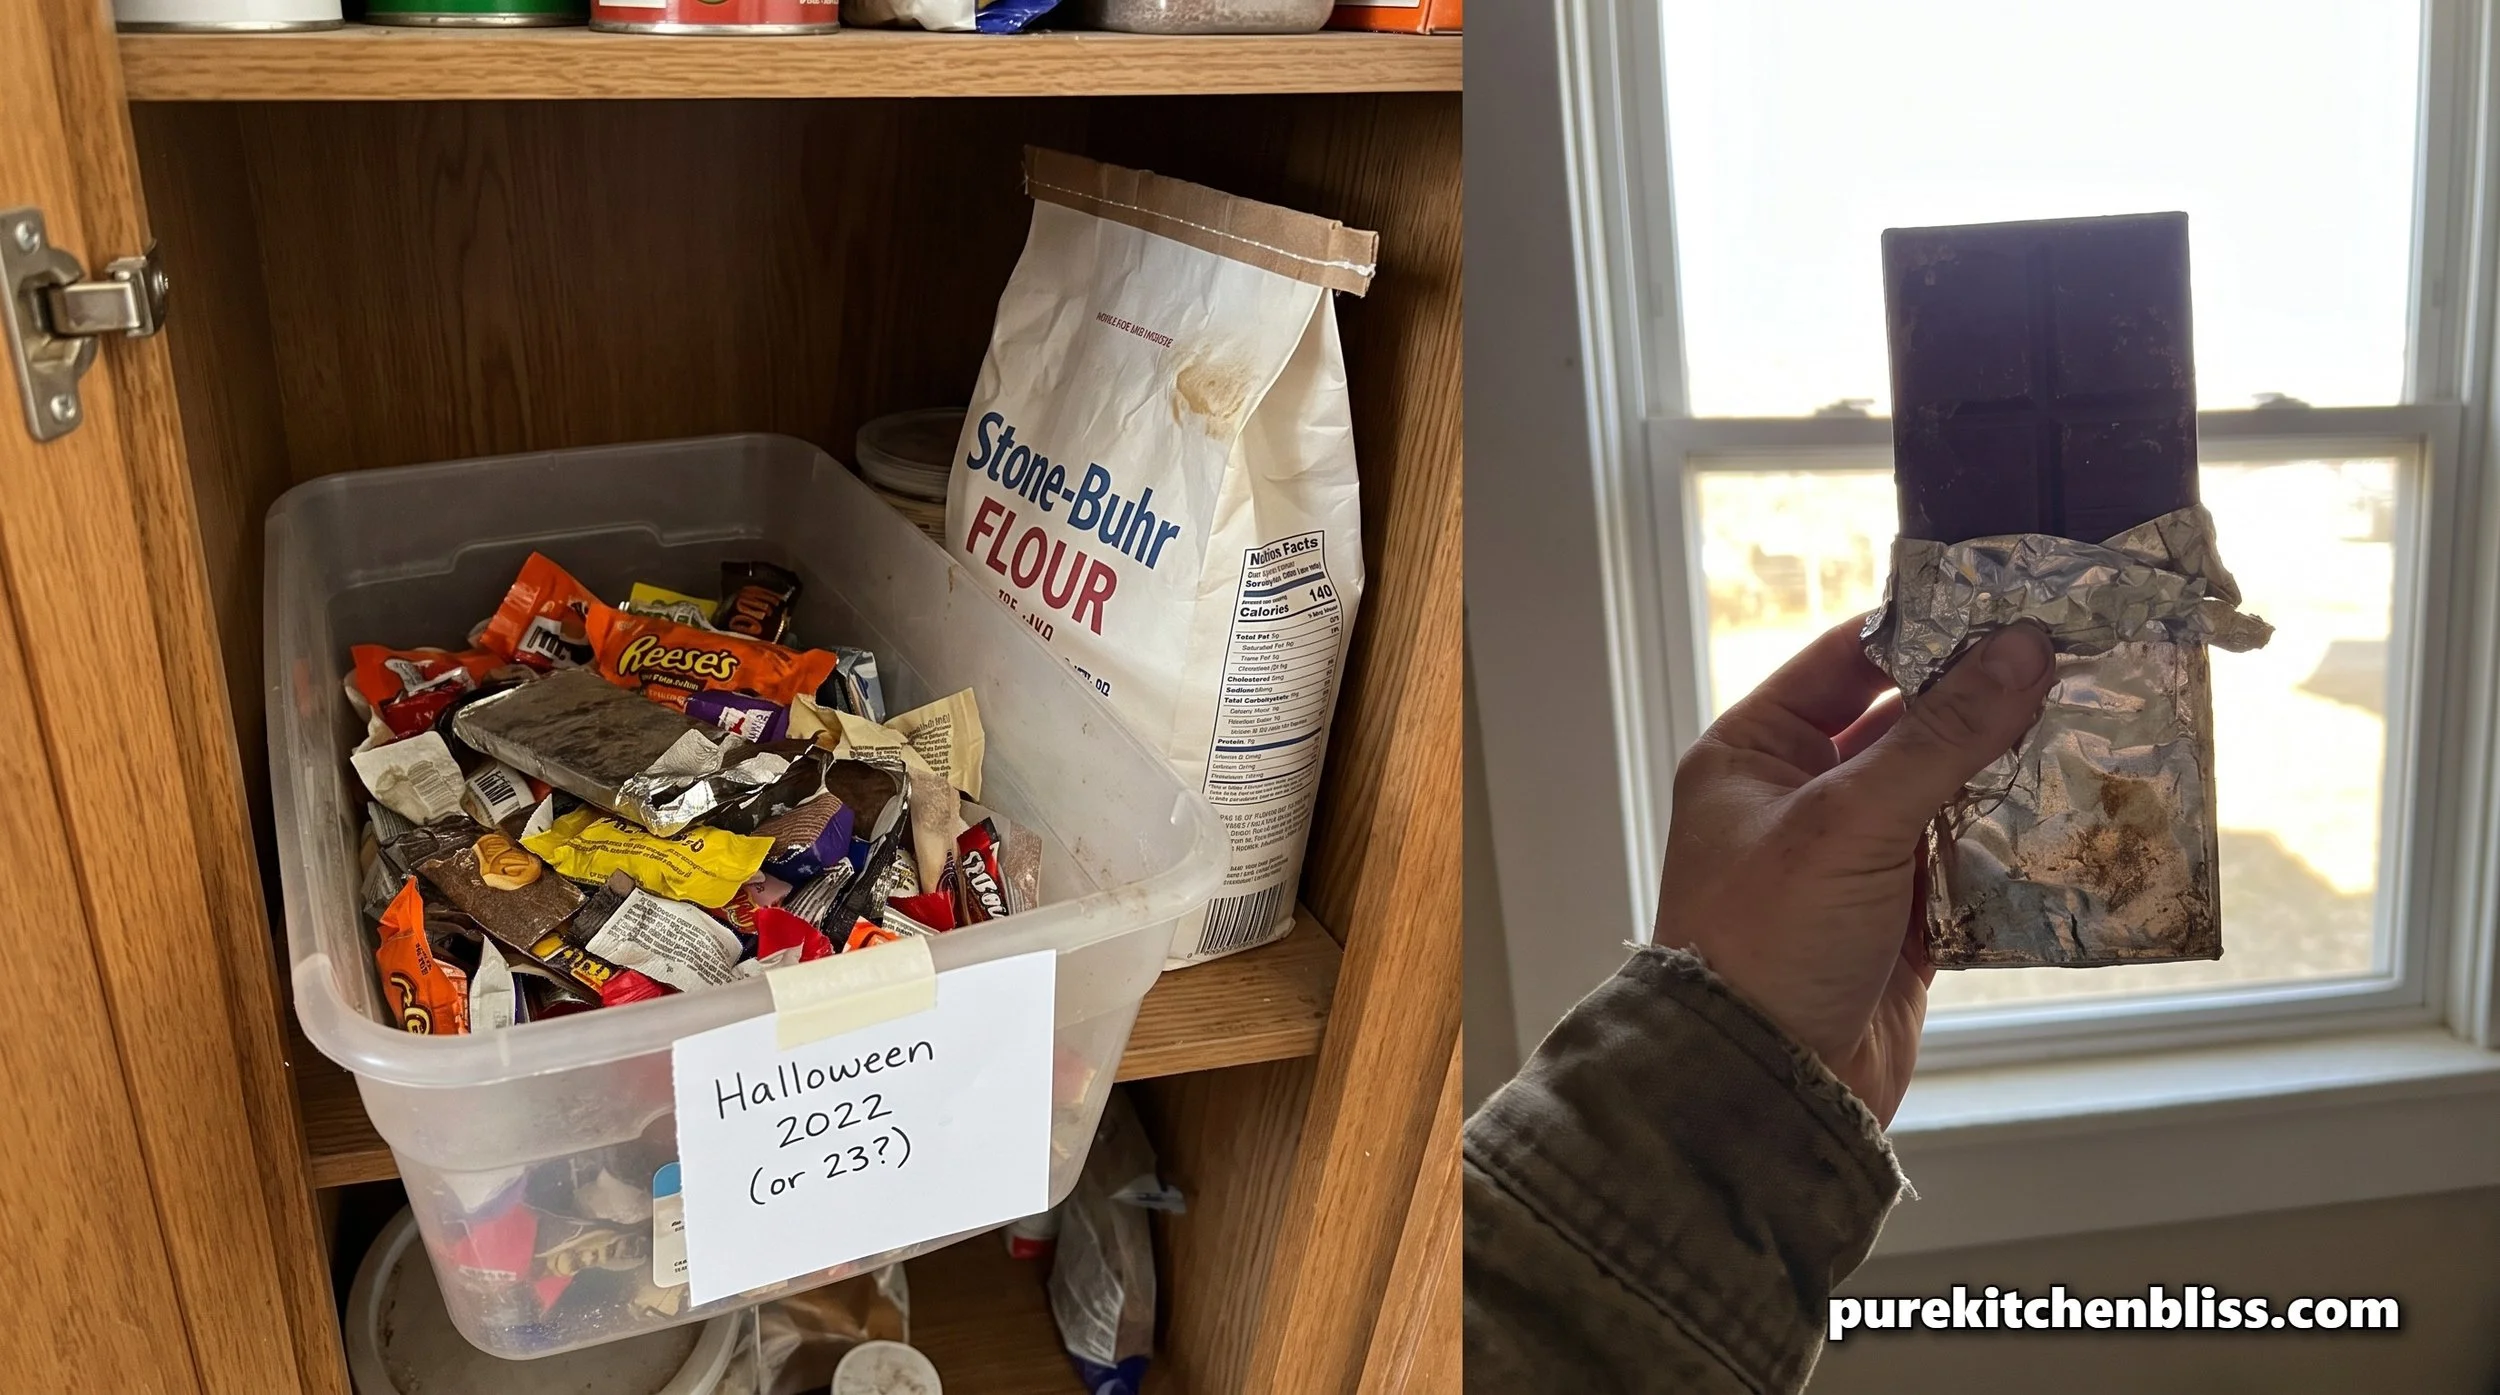
I found a sealed bin of Halloween candy in the back of our pantry last spring, five months old and completely forgotten. Most of it was still fine. Some of it clearly wasn't. Here is what actually determines how long different types of candy last, the specific signs that mean it is time to toss a piece, and how storage changes the timeline more than most people realize.

Every Halloween ends the same way in my house, four kids dumping their bags out on the counter at once. The tampering fears get most of the attention, but the more common risks are quieter, choking hazards, allergens, and candy that just sits too long. Here is the system I actually use to sort, inspect, and store it once the kids are in bed.
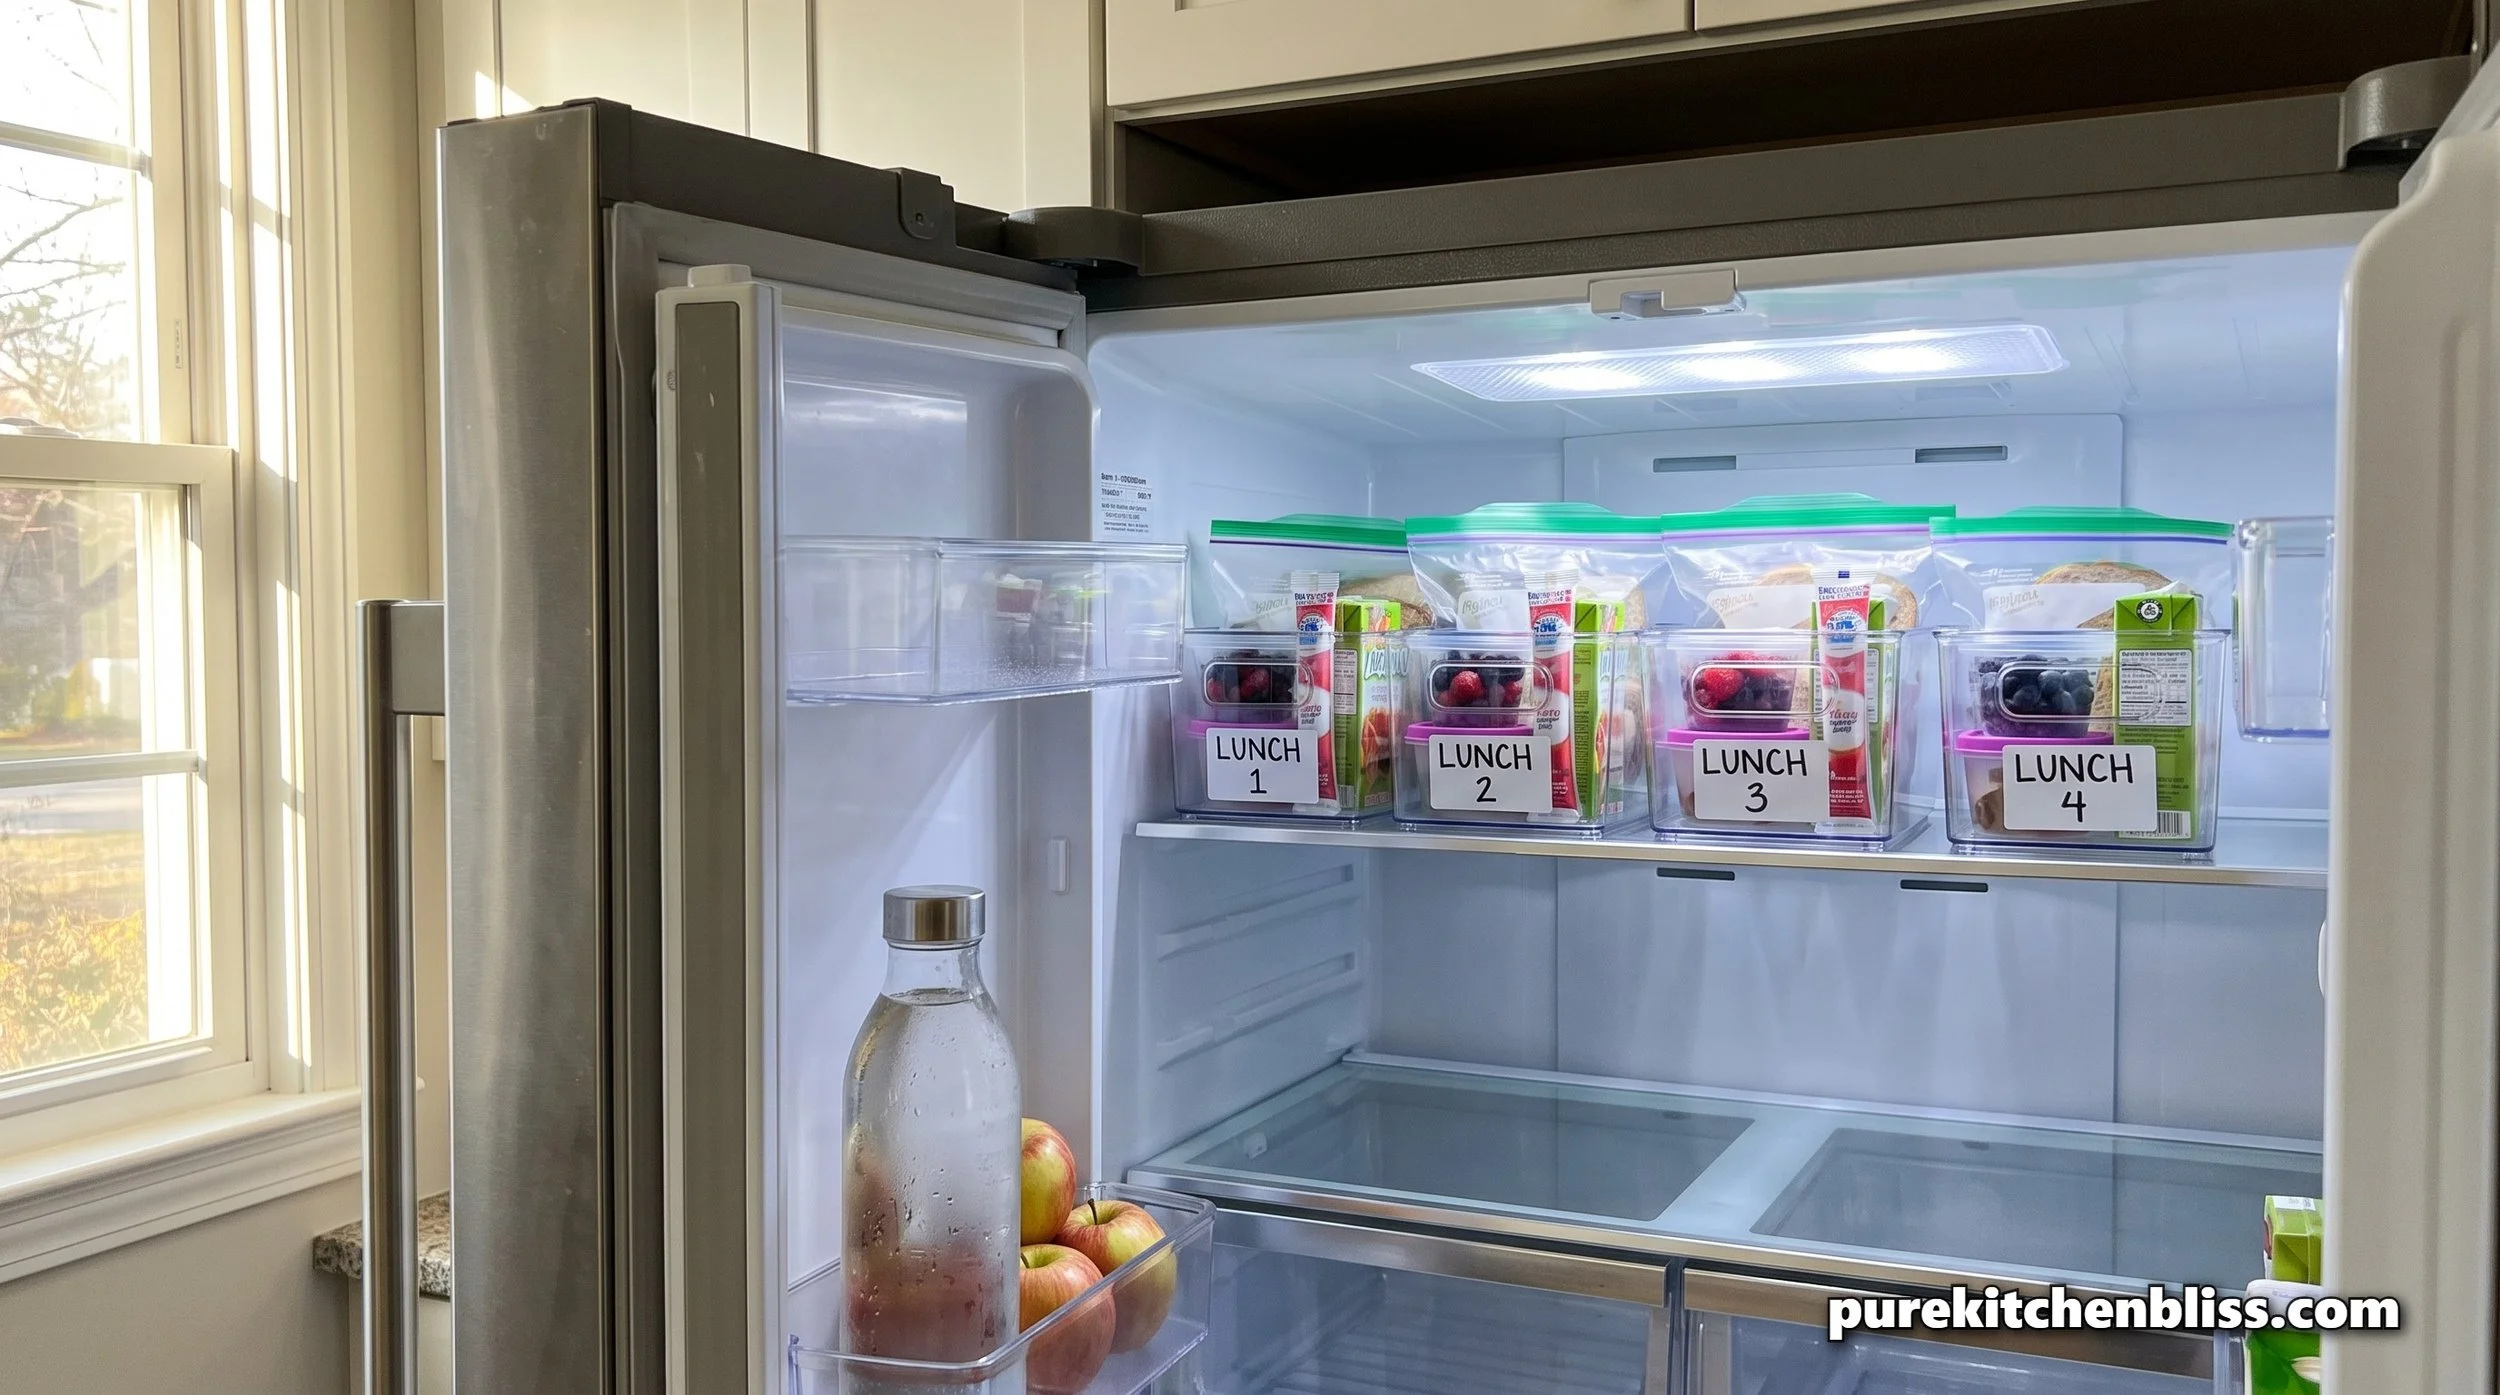
Packing school lunches gets chaotic fast, and most of the friction comes down to a fridge with no real system. The food safety risks are specific and well documented, tied to temperature zones and transport time rather than to any one food. Here is the zone by zone layout I use, the science behind why it matters, and the exact products that make the morning routine faster.
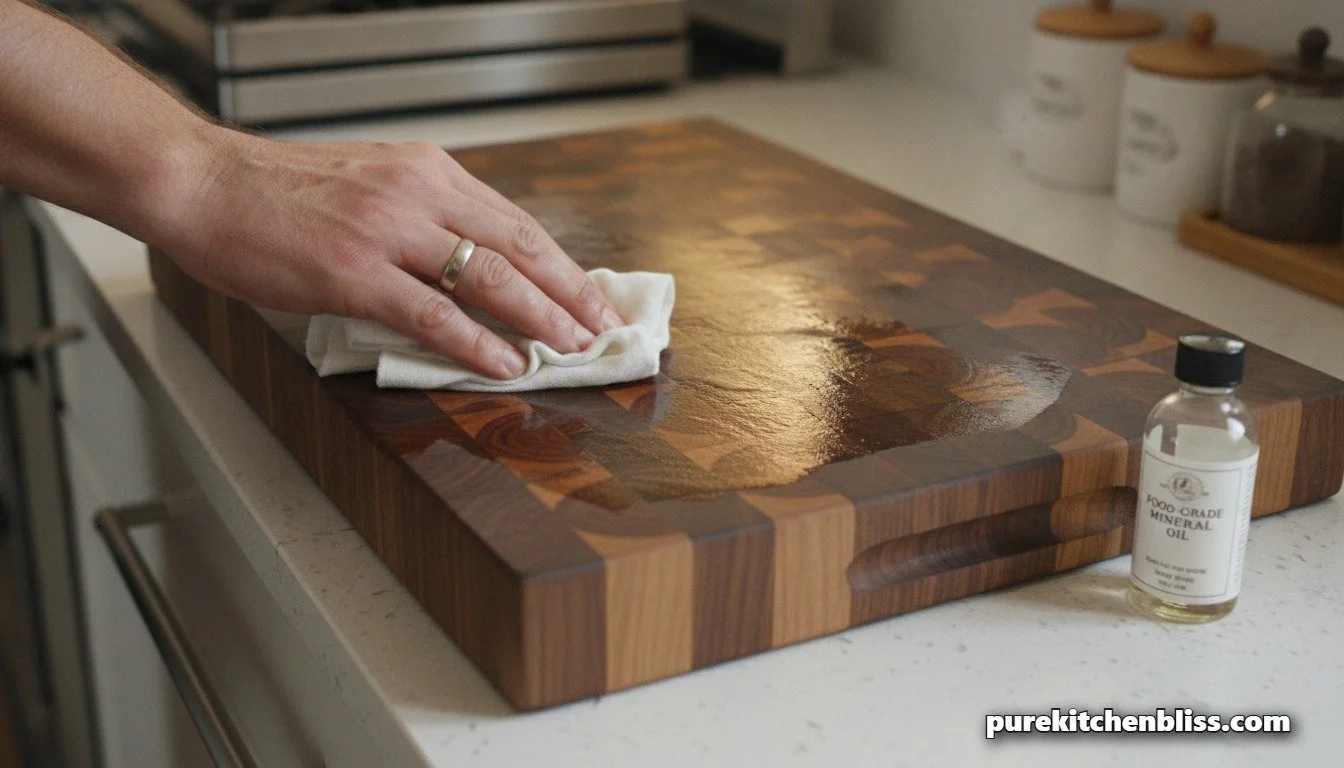
When we think about food safety in a busy kitchen, we usually focus on washing our vegetables thoroughly, avoiding cross-contamination, or keeping our food prep surfaces properly sanitized. But as a builder and woodworker, I tend to look closely at the physical tools holding our food during prep.
The cutting board is the literal foundation of every single meal we make, yet it's often the most overlooked source of chemical contamination in the modern home.
In a house with four kids, our cutting boards face a non-stop gauntlet of heavy chopping, slicing, and dicing. For a long time, standard plastic cutting boards were marketed as the ultimate sanitary choice because you could toss them straight into a dishwasher loop.
But recent scientific studies have completely exposed the dangers of plastic prep surfaces. Data shows that chopping food on a plastic cutting board can release tens of millions of microscopic plastic particles into your family's food every single year. Every knife stroke acts like a mini saw, shaving off microplastic dust that hitches a ride straight into your meals.
If you want a truly safe, non-toxic, and sustainable workspace, you need to ditch the plastic boards entirely. Today, I'm breaking down the physical mechanics of why hardwood and bamboo are the safest choices for your health, how they protect your expensive knives, and the simple maintenance routine that will make a quality wood board last a lifetime.
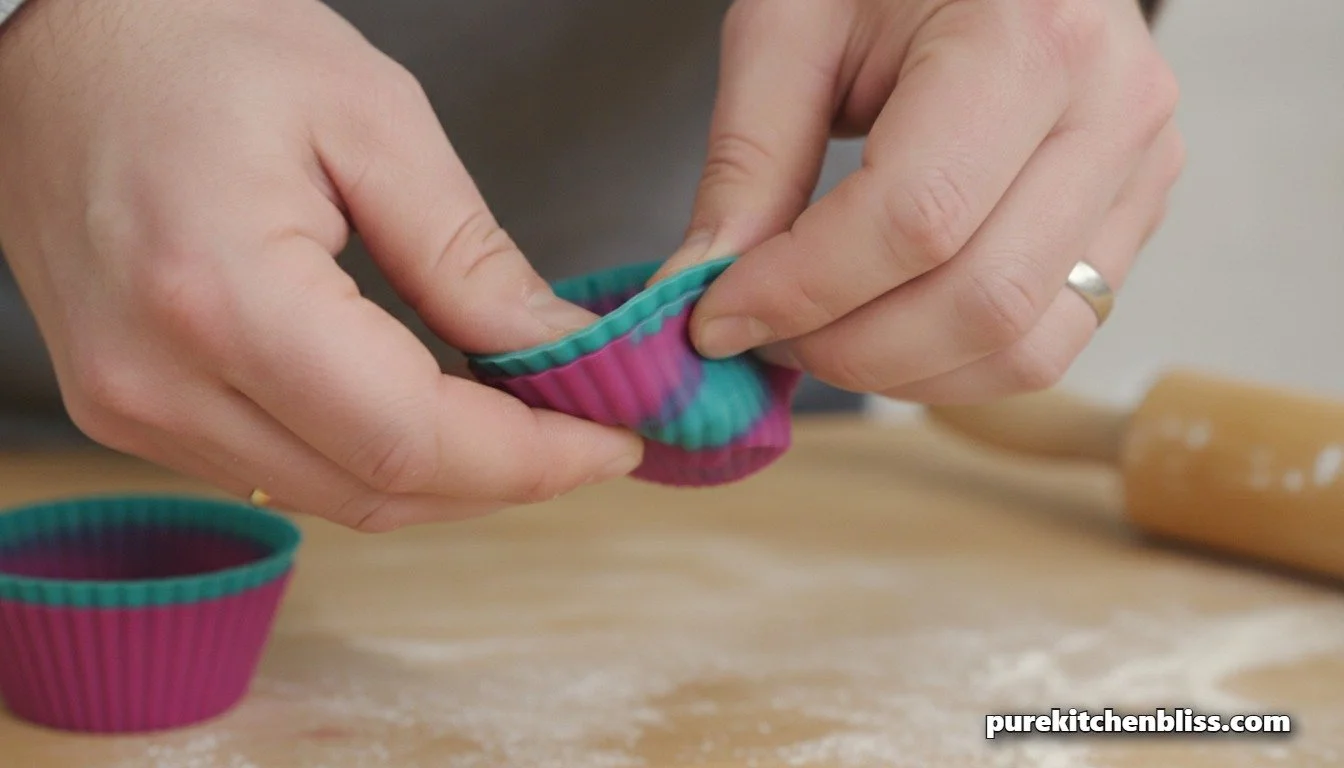
If you look through modern kitchen design pages or scroll through eco-friendly cooking feeds, you’ll notice that bright plastic tools are rapidly disappearing. In their place is a massive wave of silicone gear: reusable storage bags, baking mats, flexible spatulas, and stretch lids.
With four kids in the house, our kitchen is a high-volume testing ground for anything related to food storage and prep. For a long time, we relied heavily on standard plastic wrap, disposable zip-top bags, and plastic storage containers to pack school lunches and tuck away leftovers. But over the last few years, the data surrounding microplastics and chemical leaching has made me think twice about the materials we bring into our home.
When you heat up traditional plastic, or subject it to the intense thermal loops of a dishwasher, it degrades. That structural breakdown can cause it to leach synthetic chemicals like BPA and phthalates directly into your family's food.
Because of this, many home cooks are turning to silicone as a "green" savior. But as someone who evaluates structural materials and synthetic compounds for a living in my carpentry shop, I wanted to look past the marketing. Is silicone actually a safe alternative to plastic under heat and pressure, or is it just another design fad?
Today, I’m breaking down the true chemical stability of food-grade silicone, the environmental trade-offs you need to know, and a simple, zero-dollar structural test you can do in five seconds to make sure your kitchen gear is completely pure.
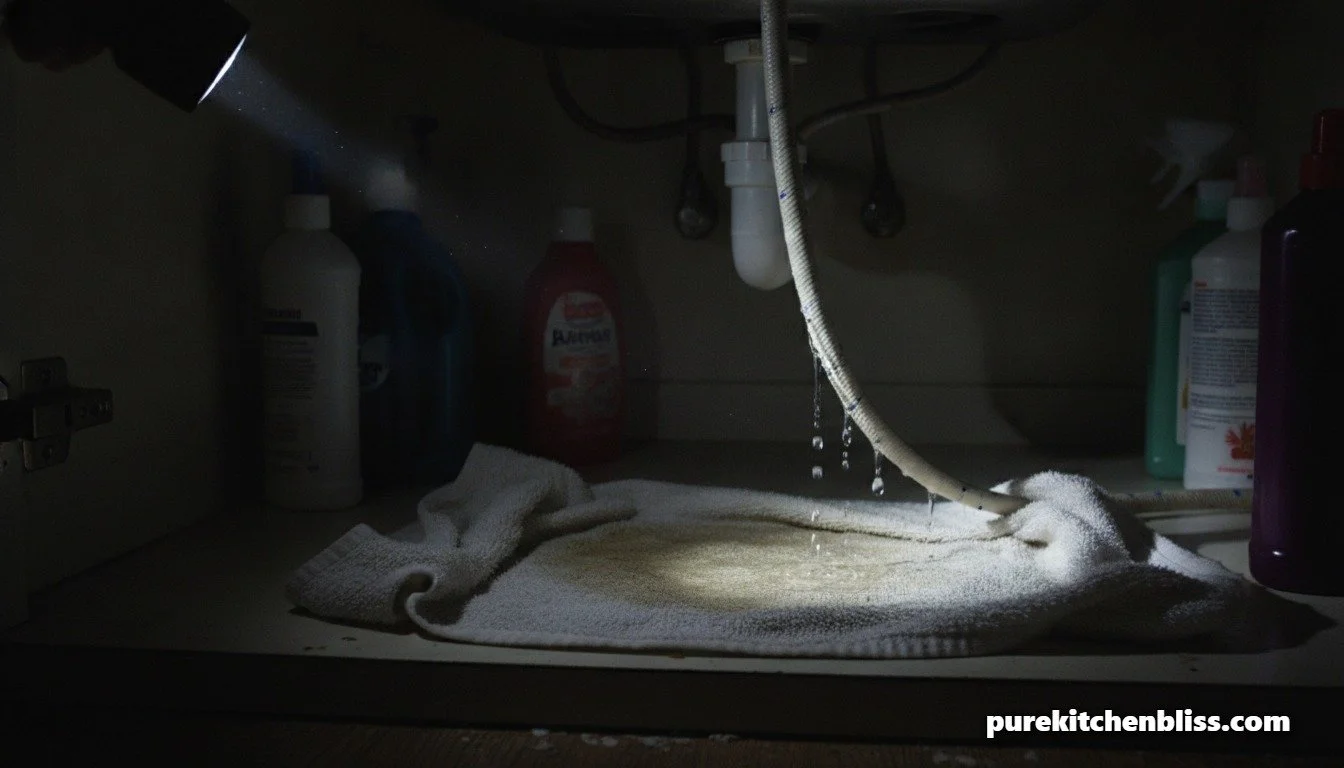
The other day, we looked at how running a fully loaded dishwasher is actually the most sustainable way to tackle the dinner cleanup loop. But no matter how much you rely on your machine, your kitchen sink’s pull-out sprayer hose still handles a ton of heavy daily torque, rinsing off big cutting boards, filling up stockpots, and spraying down the corners of the basin.
With four kids constantly managing their own cleanup, our sink sprayer gets yanked, twisted, and pulled dozens of times a day.
Last week, my oldest went to rinse out a cup and noticed a steady stream of water trickling down the braided line, running straight through the countertop hole and pooling right on the floor of the lower cabinet.
If you don't catch a leak like this quickly, that hidden water will warp your wood base panels, rot your subfloor, and create a breeding ground for mildew. A lot of people panic when they see water under the sink and assume they need to spend hundreds of dollars on a local plumber or replace the entire high-end faucet fixture.
As a builder, my first step is always to look at the mechanical connection points. Nine times out of ten, a leaking sprayer line is caused by a simple worn-out rubber seal or a loose quick-connect fitting. Here is my straightforward, step-by-step dad blueprint to diagnose and fix a leaky sink sprayer hose in under twenty minutes for less than five bucks.
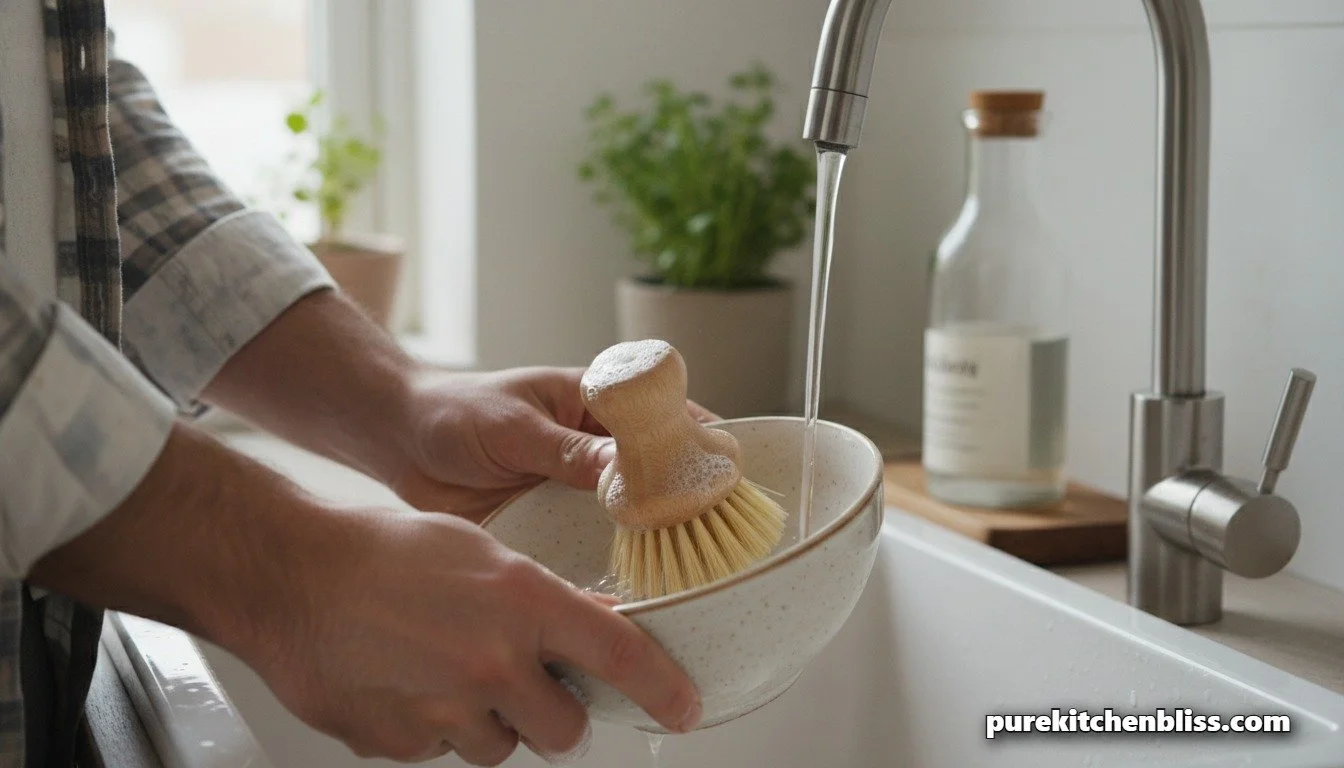
After sitting down to a big dinner with four kids, the kitchen counters are always piled high with plates, mixing bowls, and pots. In a large household, cleanup is a massive daily operation. For a long time, I assumed that standing at the sink and hand washing everything was the most sustainable, eco-friendly way to handle the chore. It just felt more intentional than running a machine.
But as a builder who looks at utility loops and water infrastructure, I decided to look closely at the actual volume numbers.
The reality is that running a modern, fully loaded Energy Star-certified dishwasher is up to 5 times more water-efficient than washing your dishes by hand.
When you look at the mechanical data, the old-school assumption completely falls apart. If you want to lower your home's environmental footprint, reduce your utility bills, and save time, you need to understand the true math behind your cleanup routine. Today, I'm breaking down the water efficiency mechanics of dishwashing, and sharing the best zero-waste swaps if you do have to scrub a heavy pan by hand.
Between the FDA's Red 3 ban and the voluntary phase-out of six more synthetic dyes, the candy aisle is genuinely changing, but not as fast as headlines make it sound. Here is what's actually required by when, which common Halloween candies still carry synthetic dyes, and how I build a dye-free option into our bowl without turning it into a whole production.